One Room Challenge Week 3-Kitchen Remodel
Electrical & Plumbing
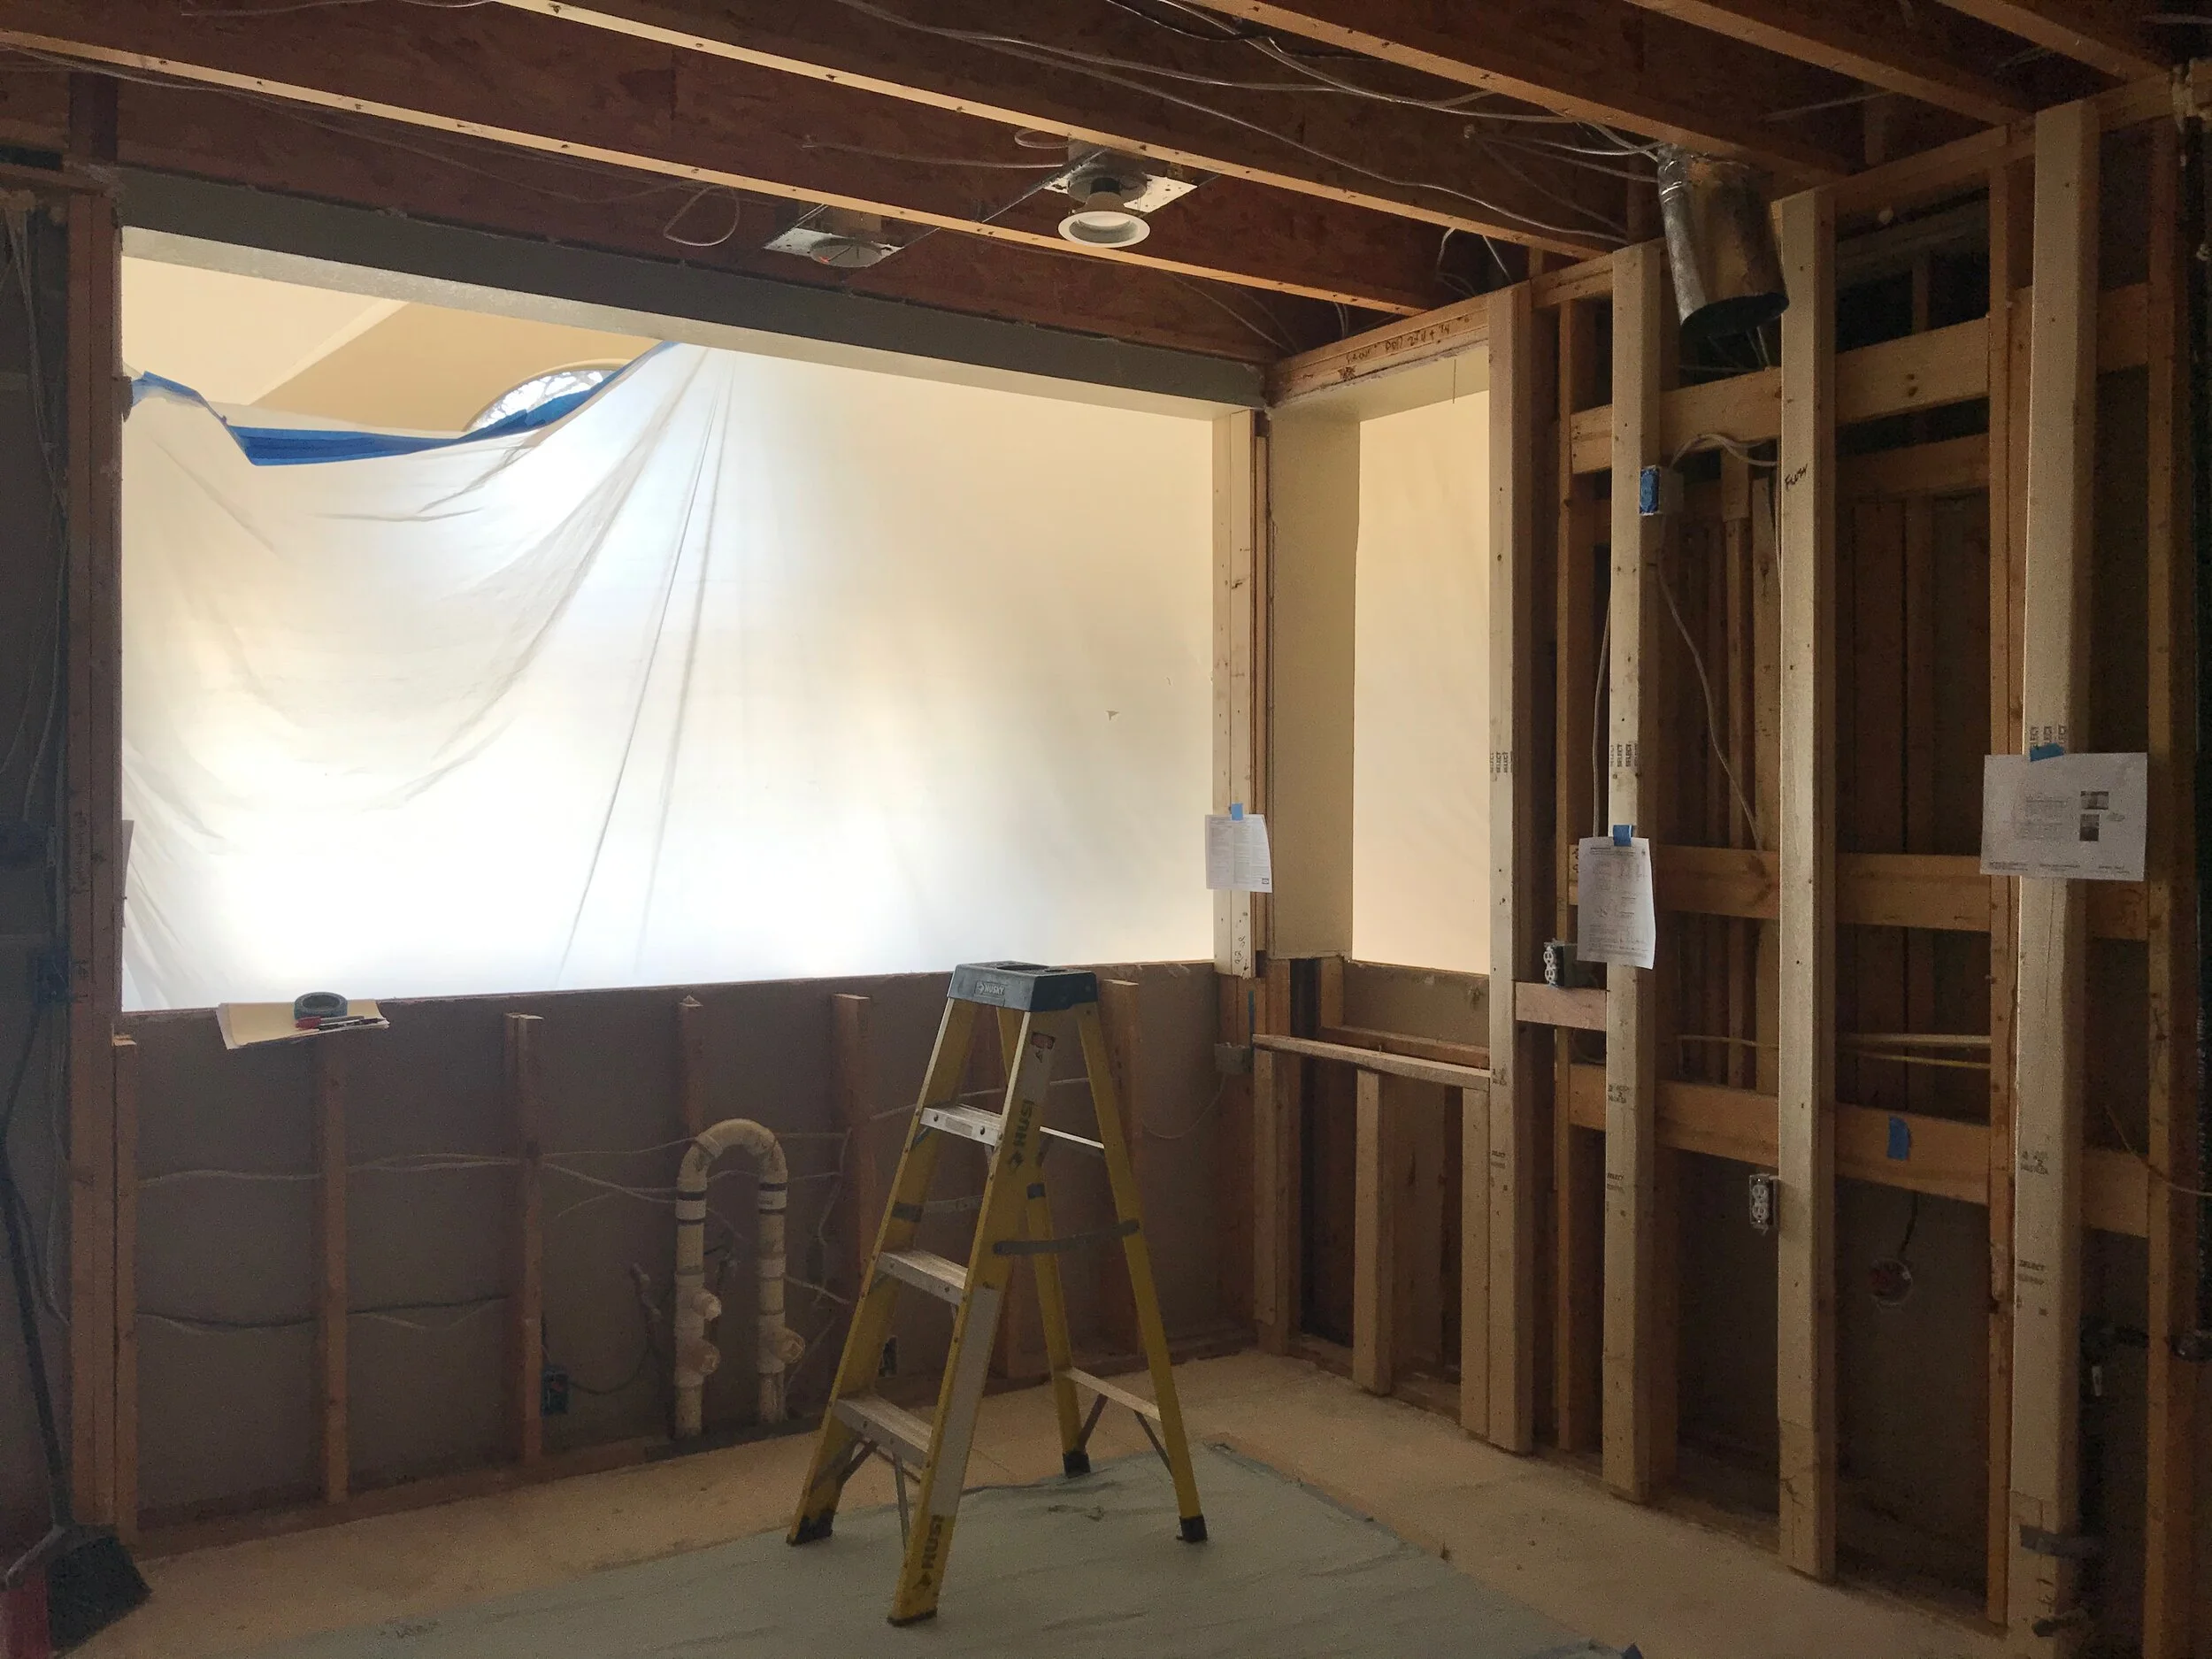
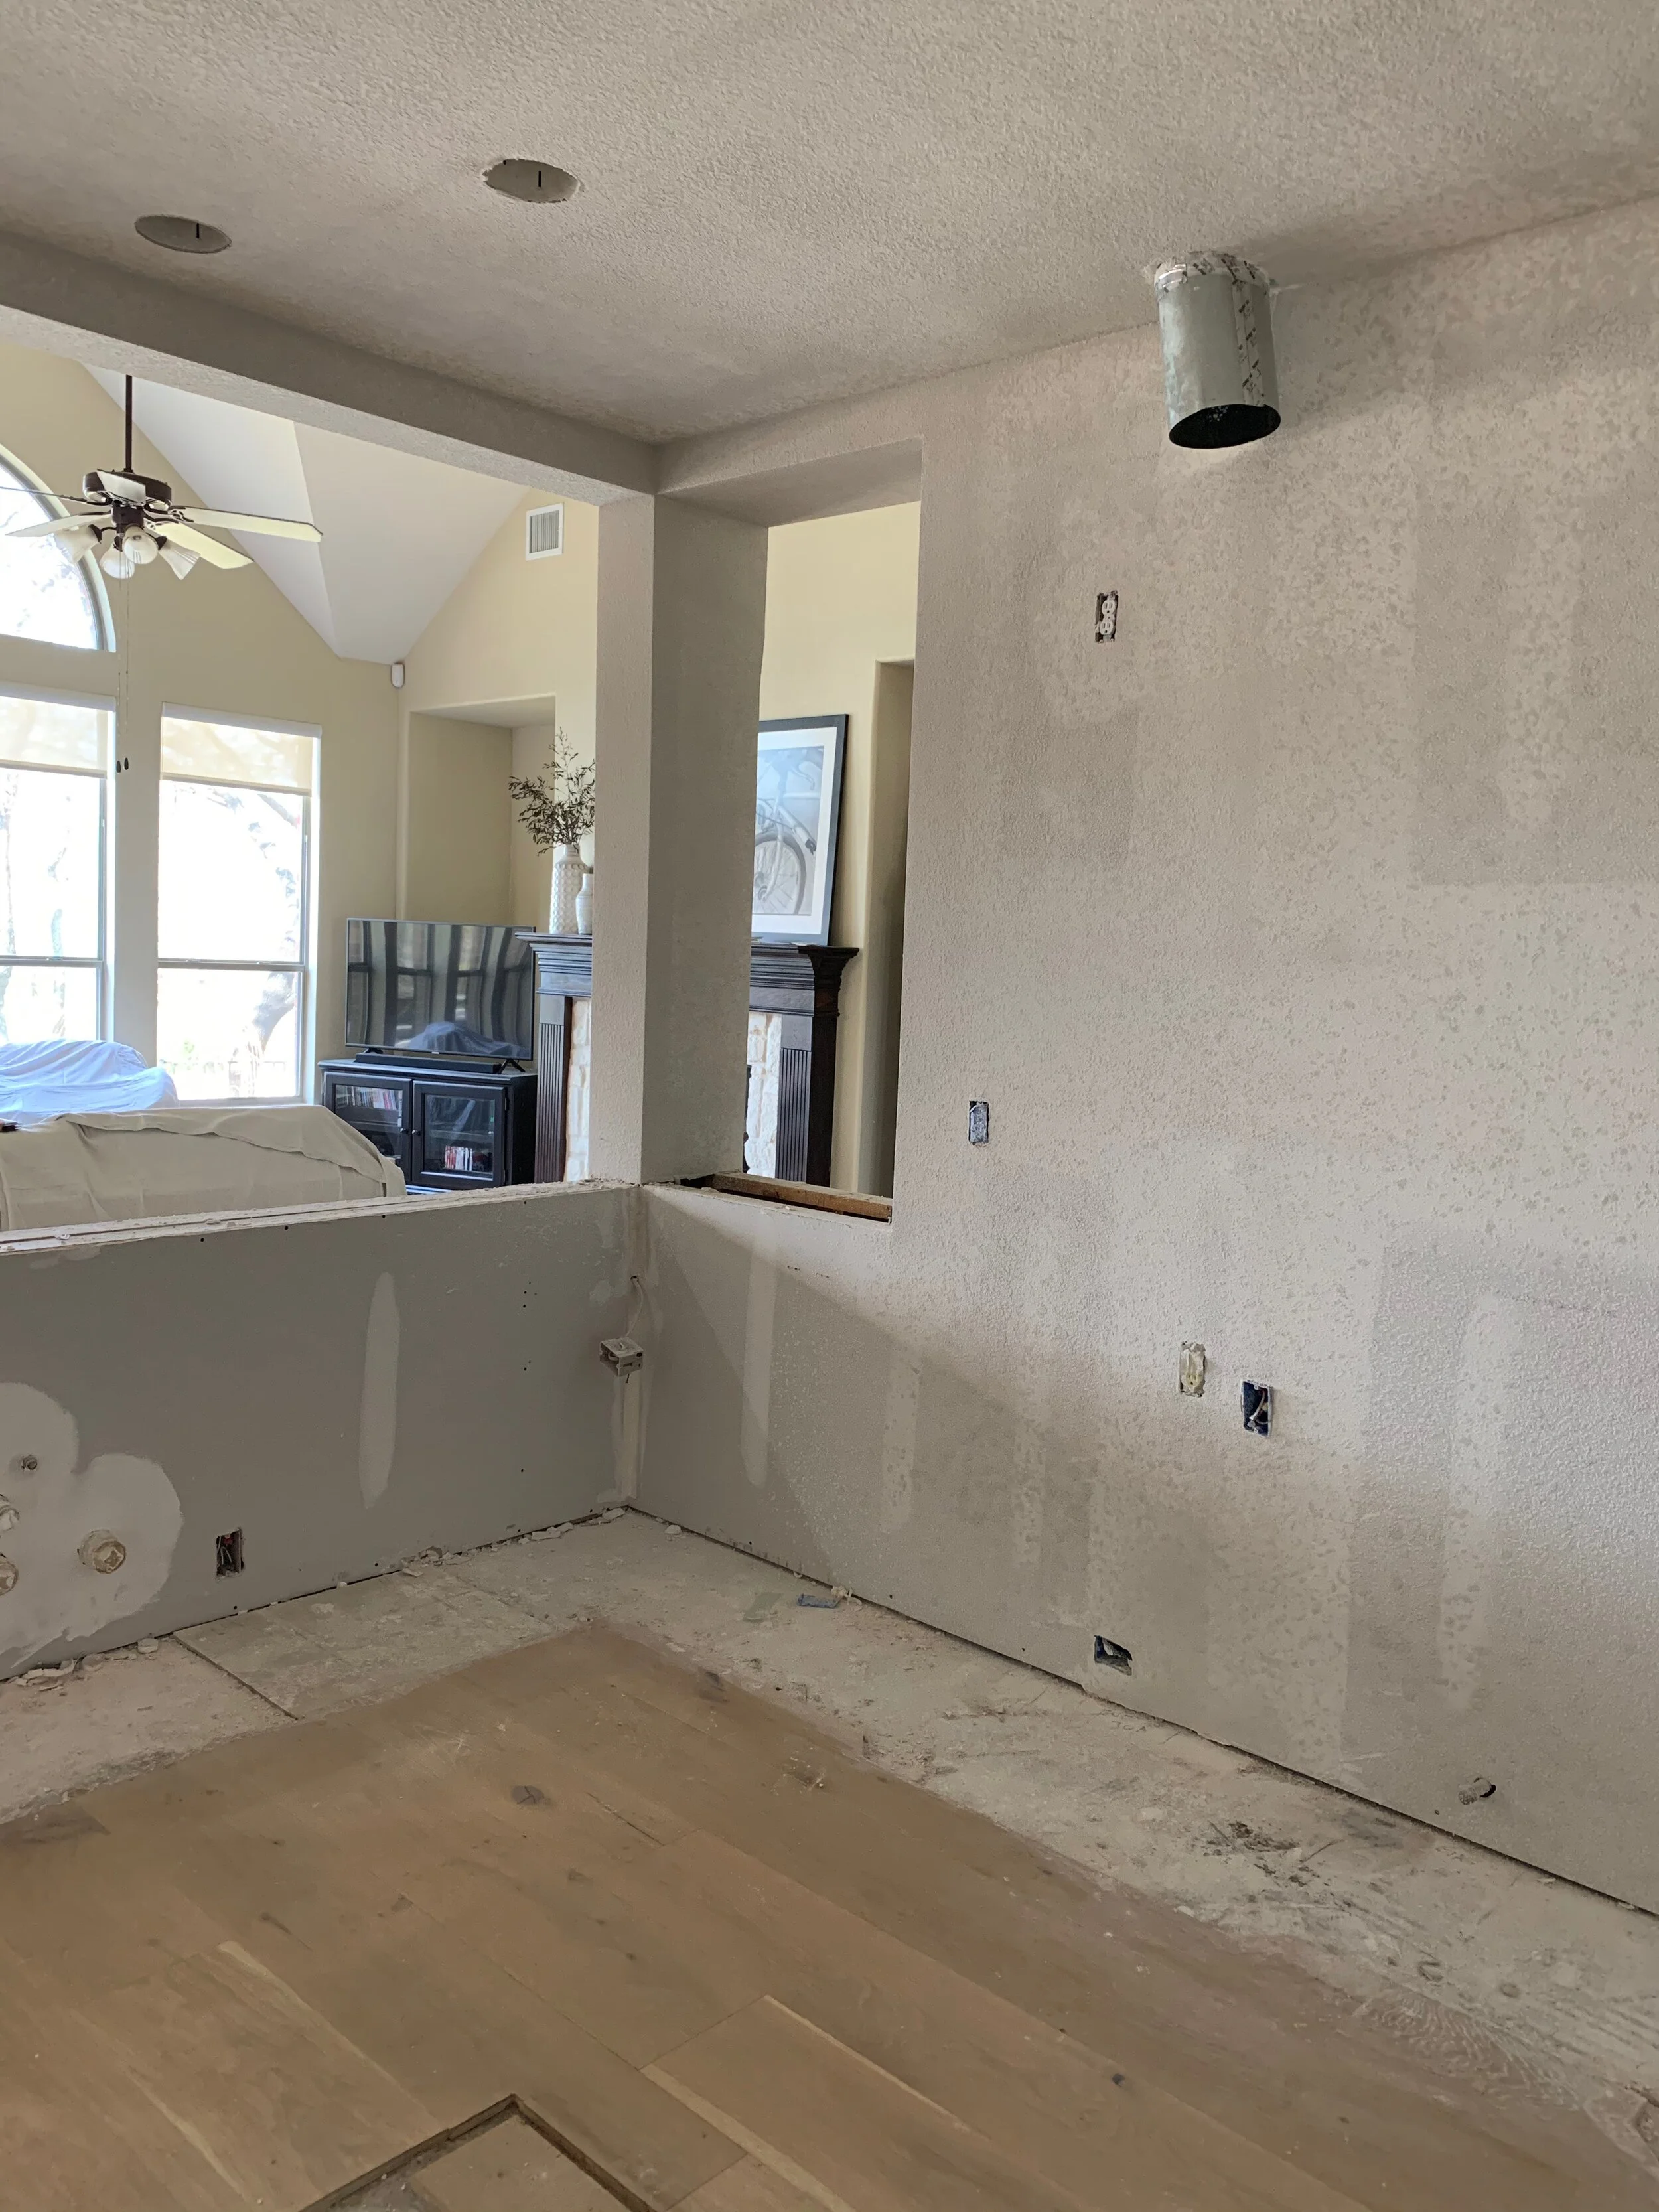
This week all the electrical and plumbing will be reworked. One of the main obstacles is our sink wall has a light switch, 3 plug-ins, and a garbage disposal switch. This is the wall that we cut down 6” in order to have the bar at counter height. We made an electrical plan to relocate these items, and here is what came up with.
> Relocate light switch to post wall
> Use a countertop pop-up plug in the corner that will replace two plugs
> Push button air disposal button
> Move third plug-in to post wall just above the countertop.
> Lower sink plumbing to accommodate the new height of the countertop
I taped all the specifications for the appliances and cabinets plans on each wall so that the electrician and plumber would know where the new location should be, based on the mfg specifications. This view shows the range, exhaust vent, pop up plug, sink plumbing lowered, post wall switch, and plug locations.
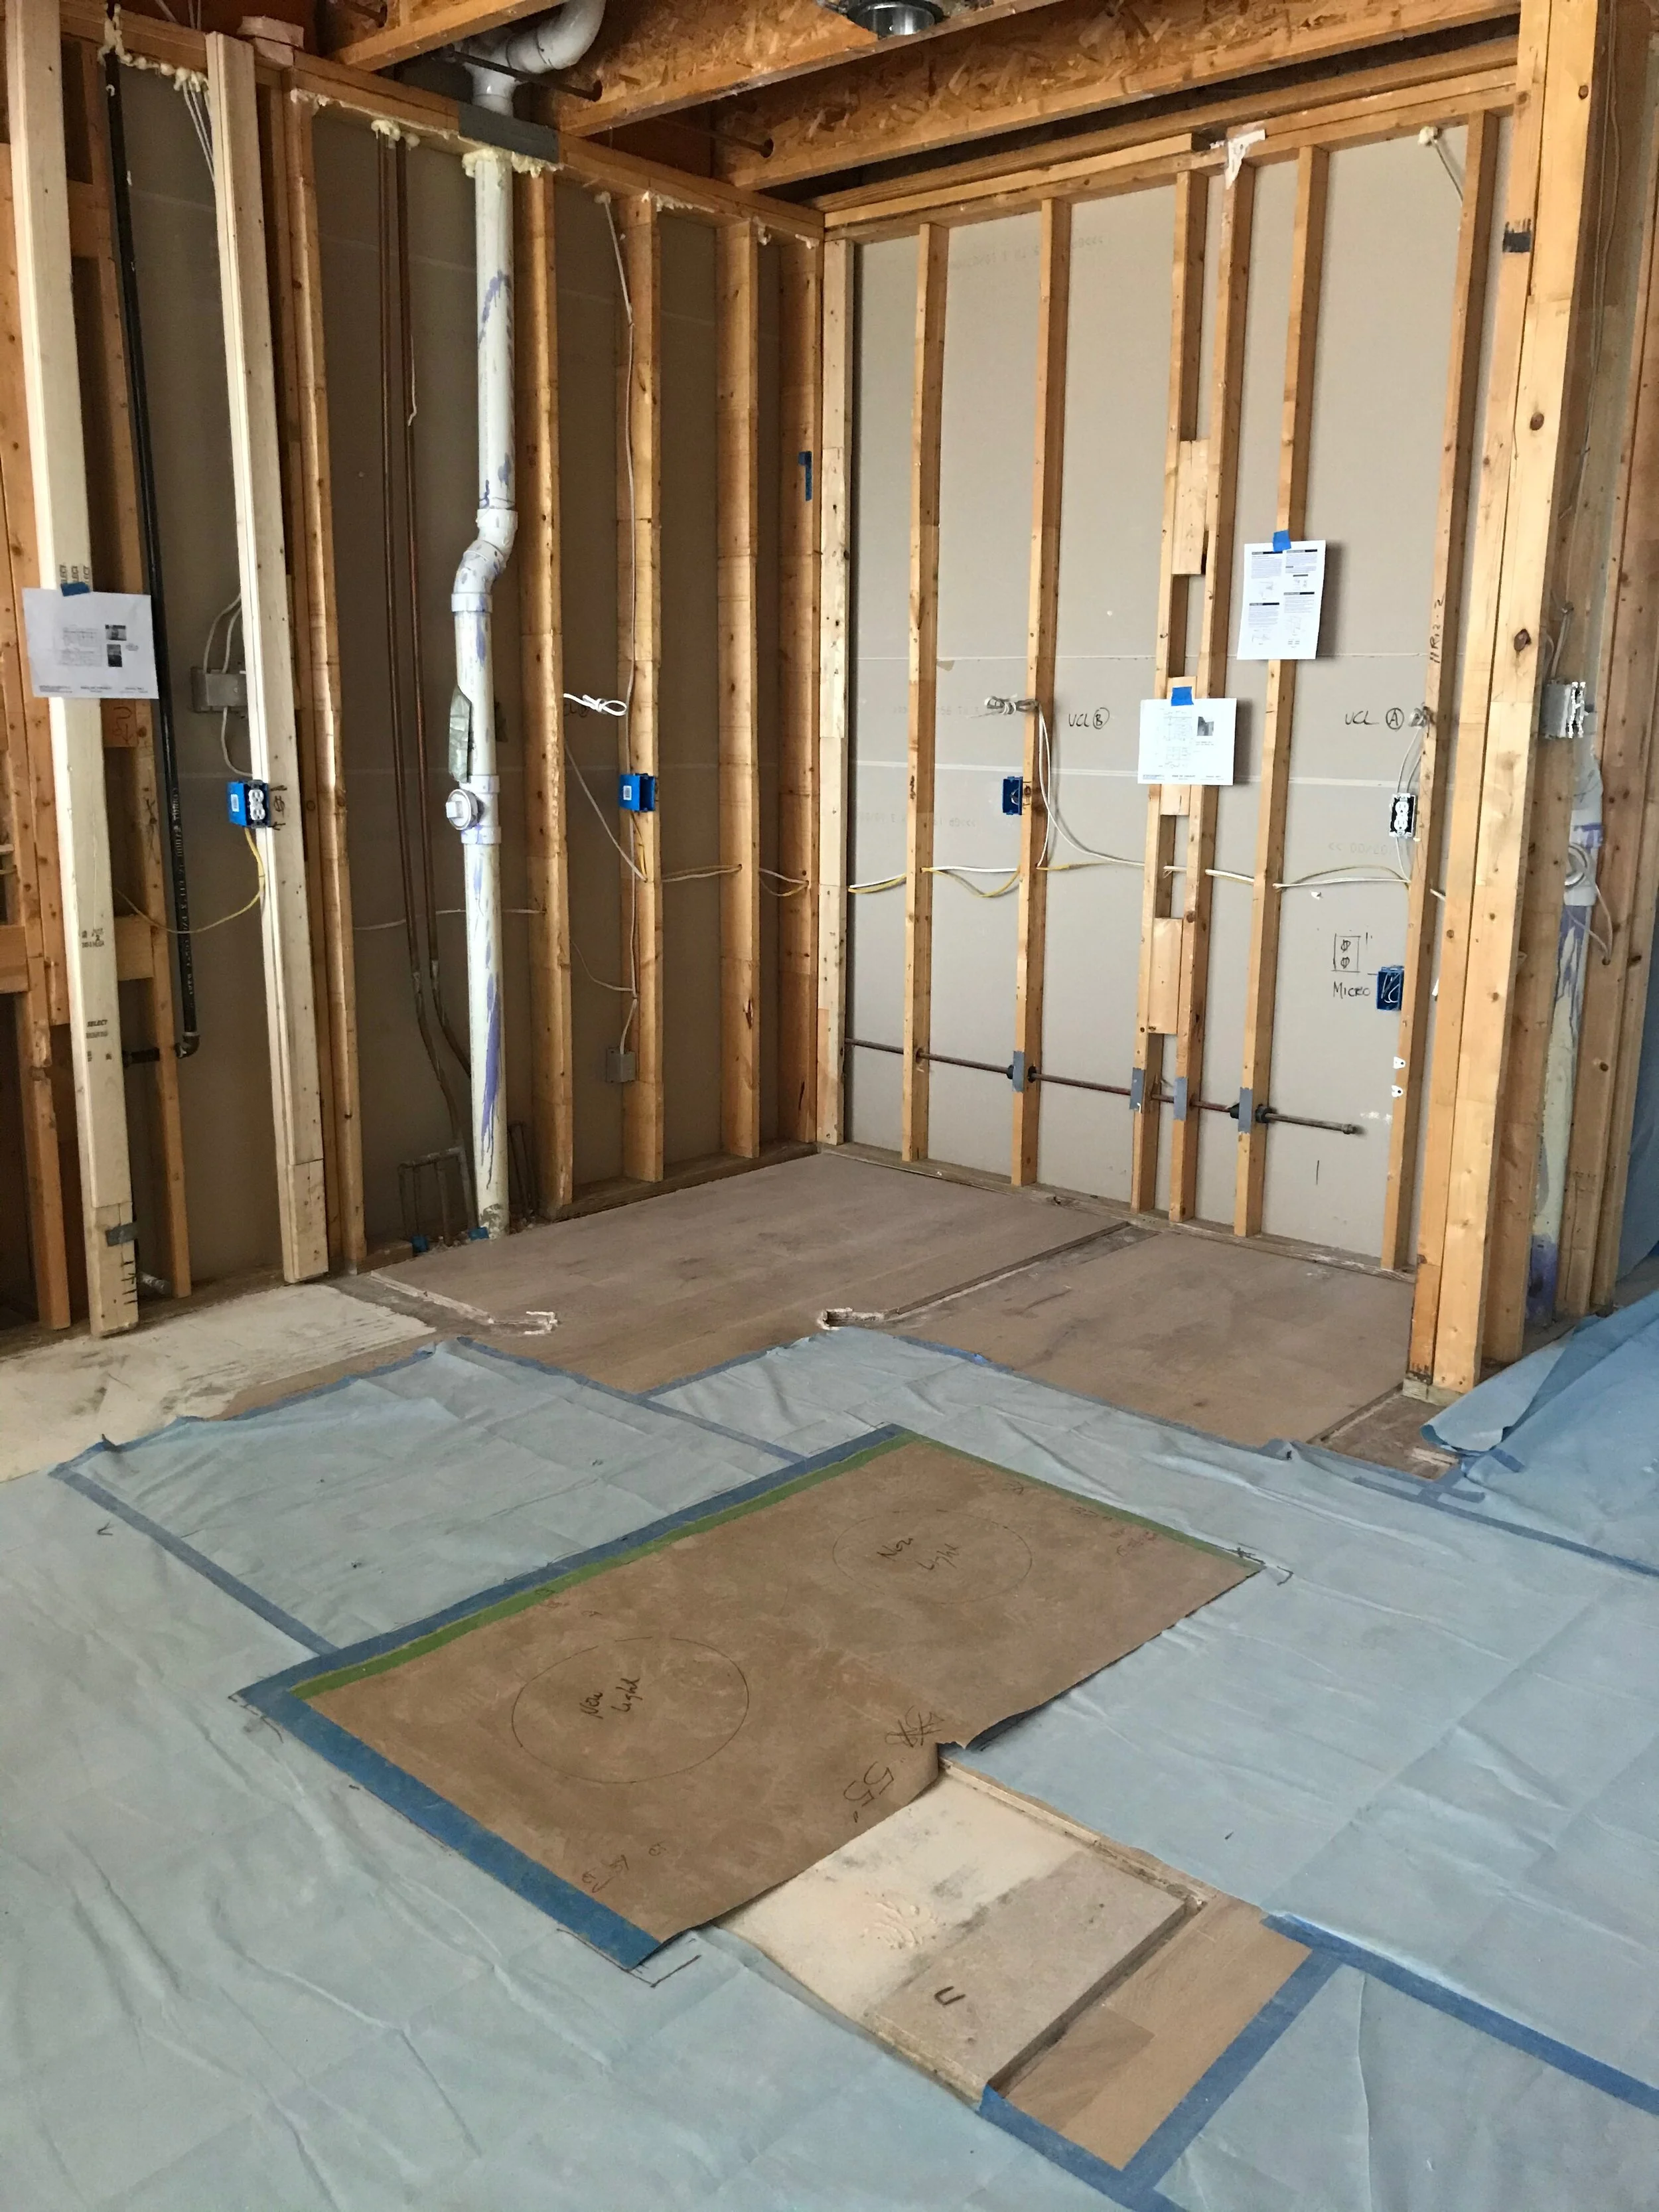
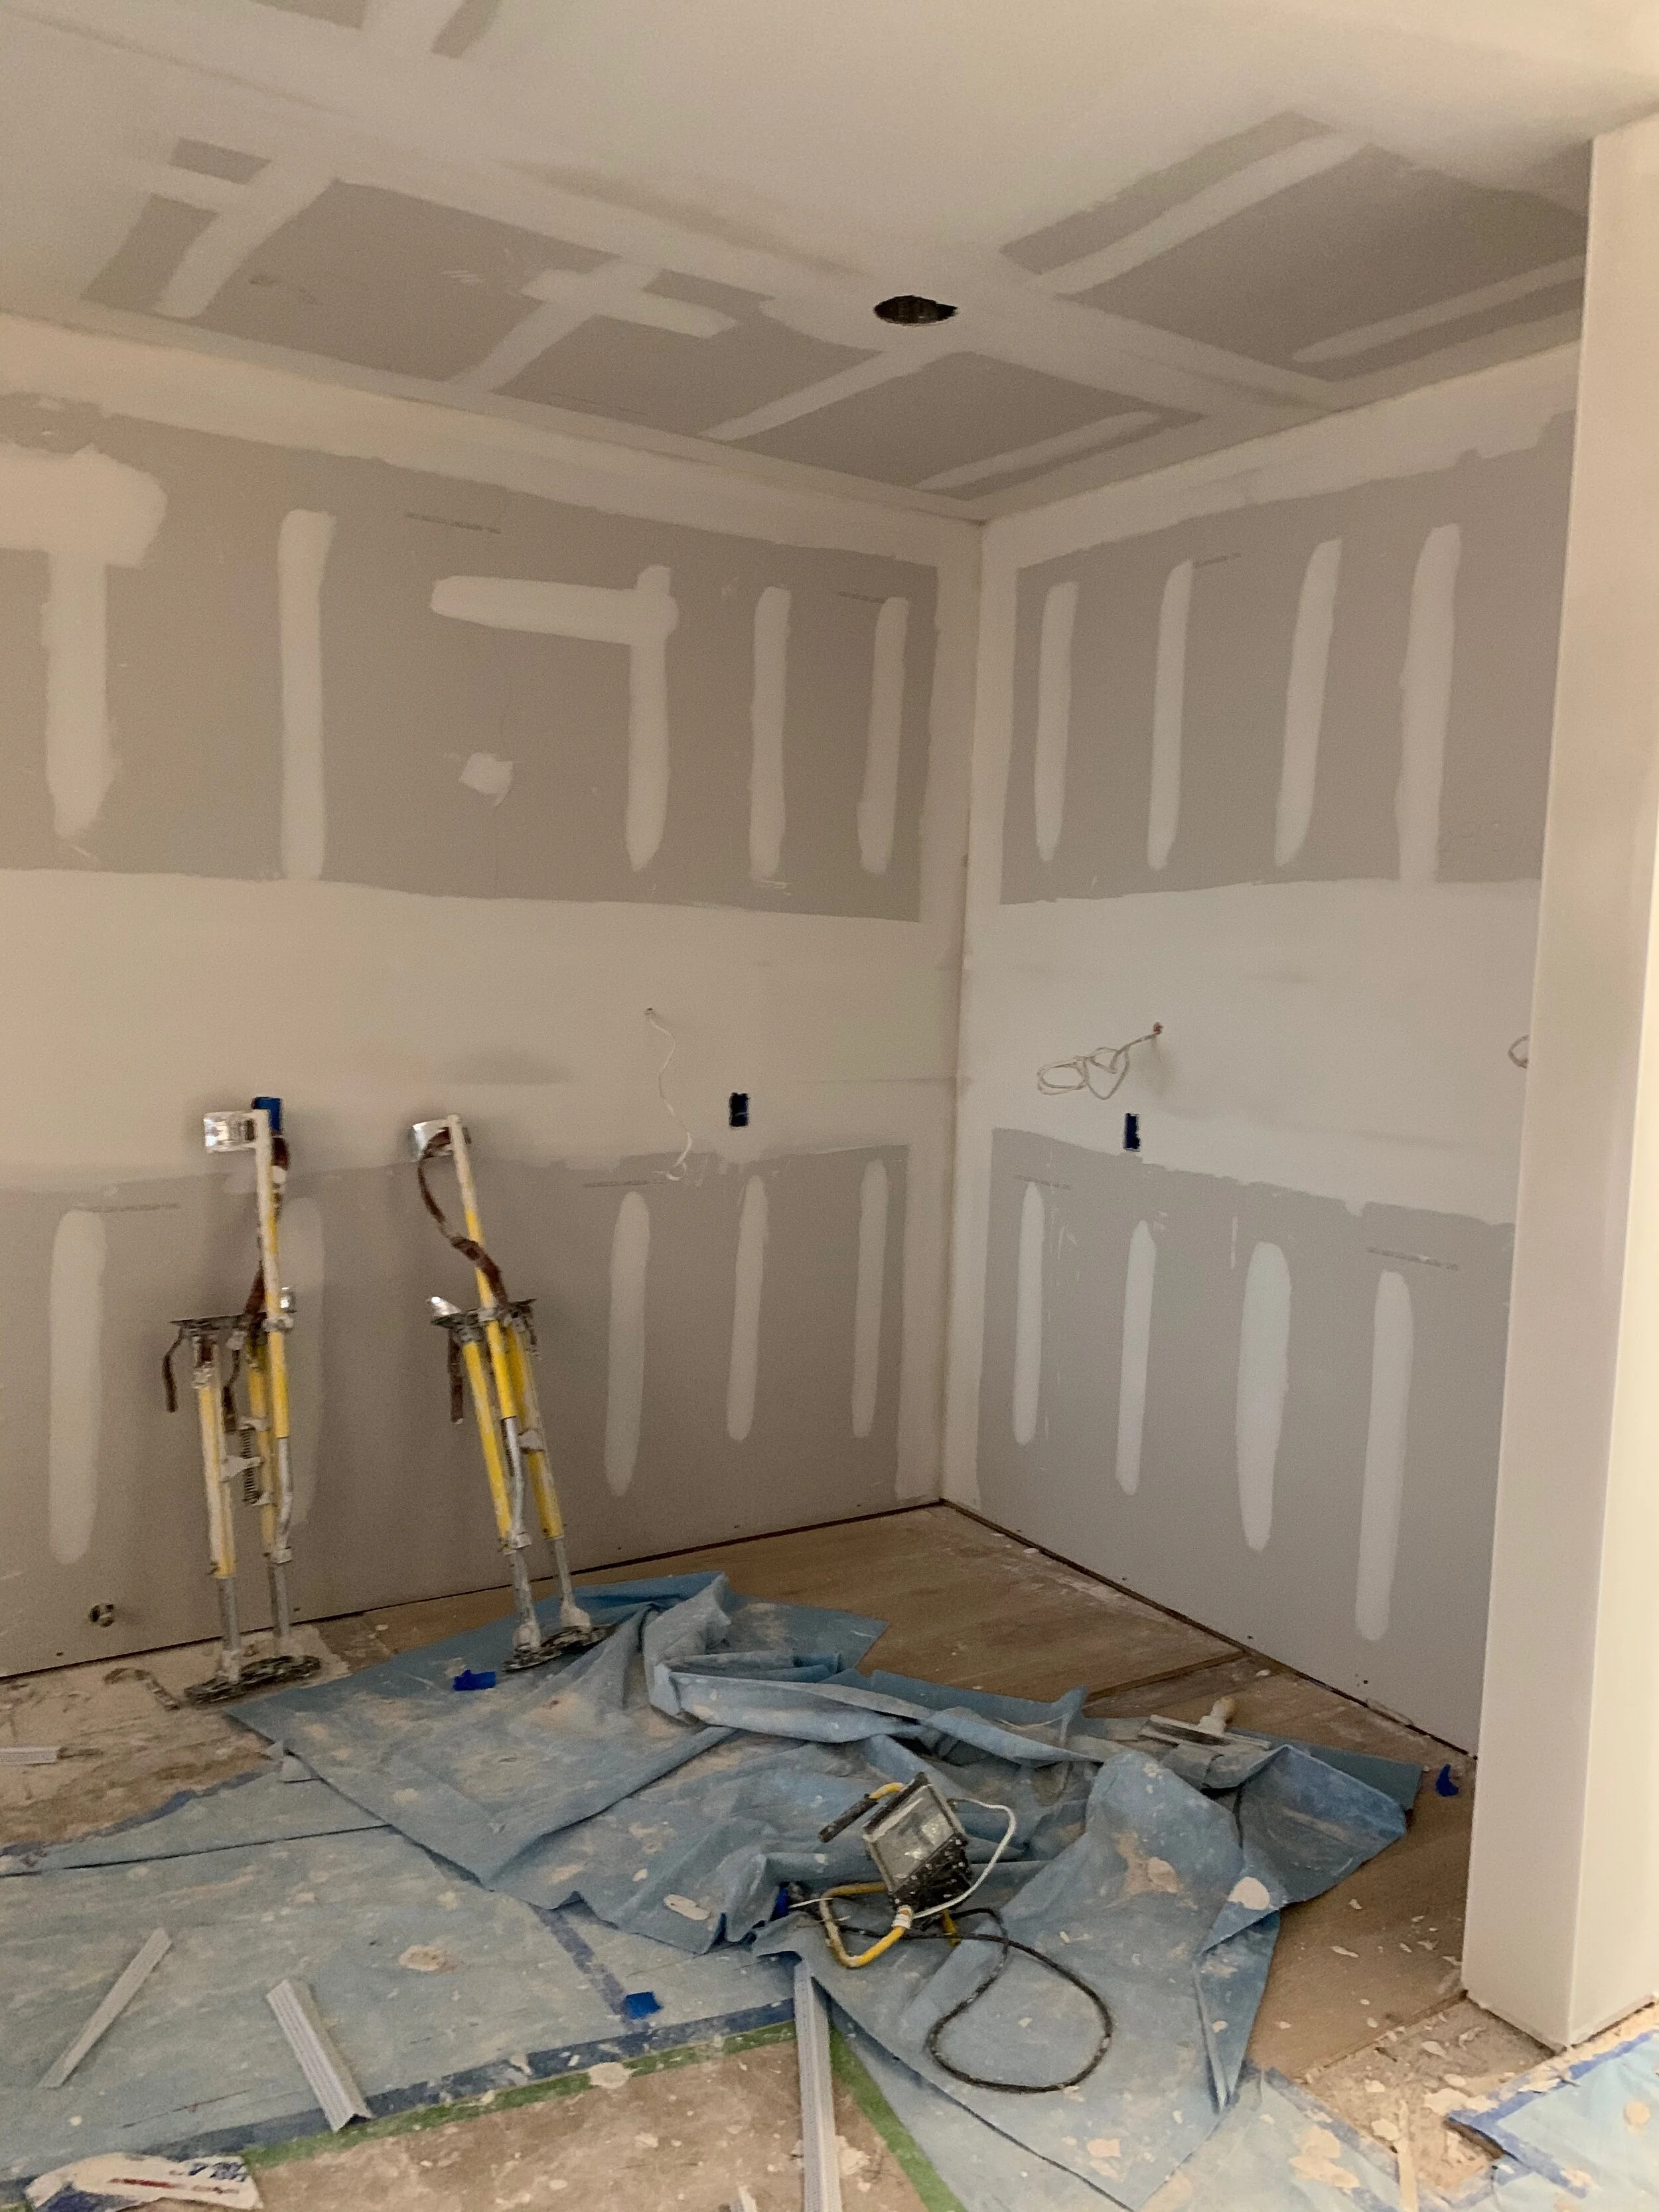
This corner is where the pantry used to be so we needed to add;
> Two electrical plugs
> Under cabinets light hardwired to switch
> Drawer microwave plug
The brown paper on the floor is my template for the new location of the island. If you remember from the plans, it used to be parallel to the sink, so we rotated it 90 degrees to be parallel to the range.
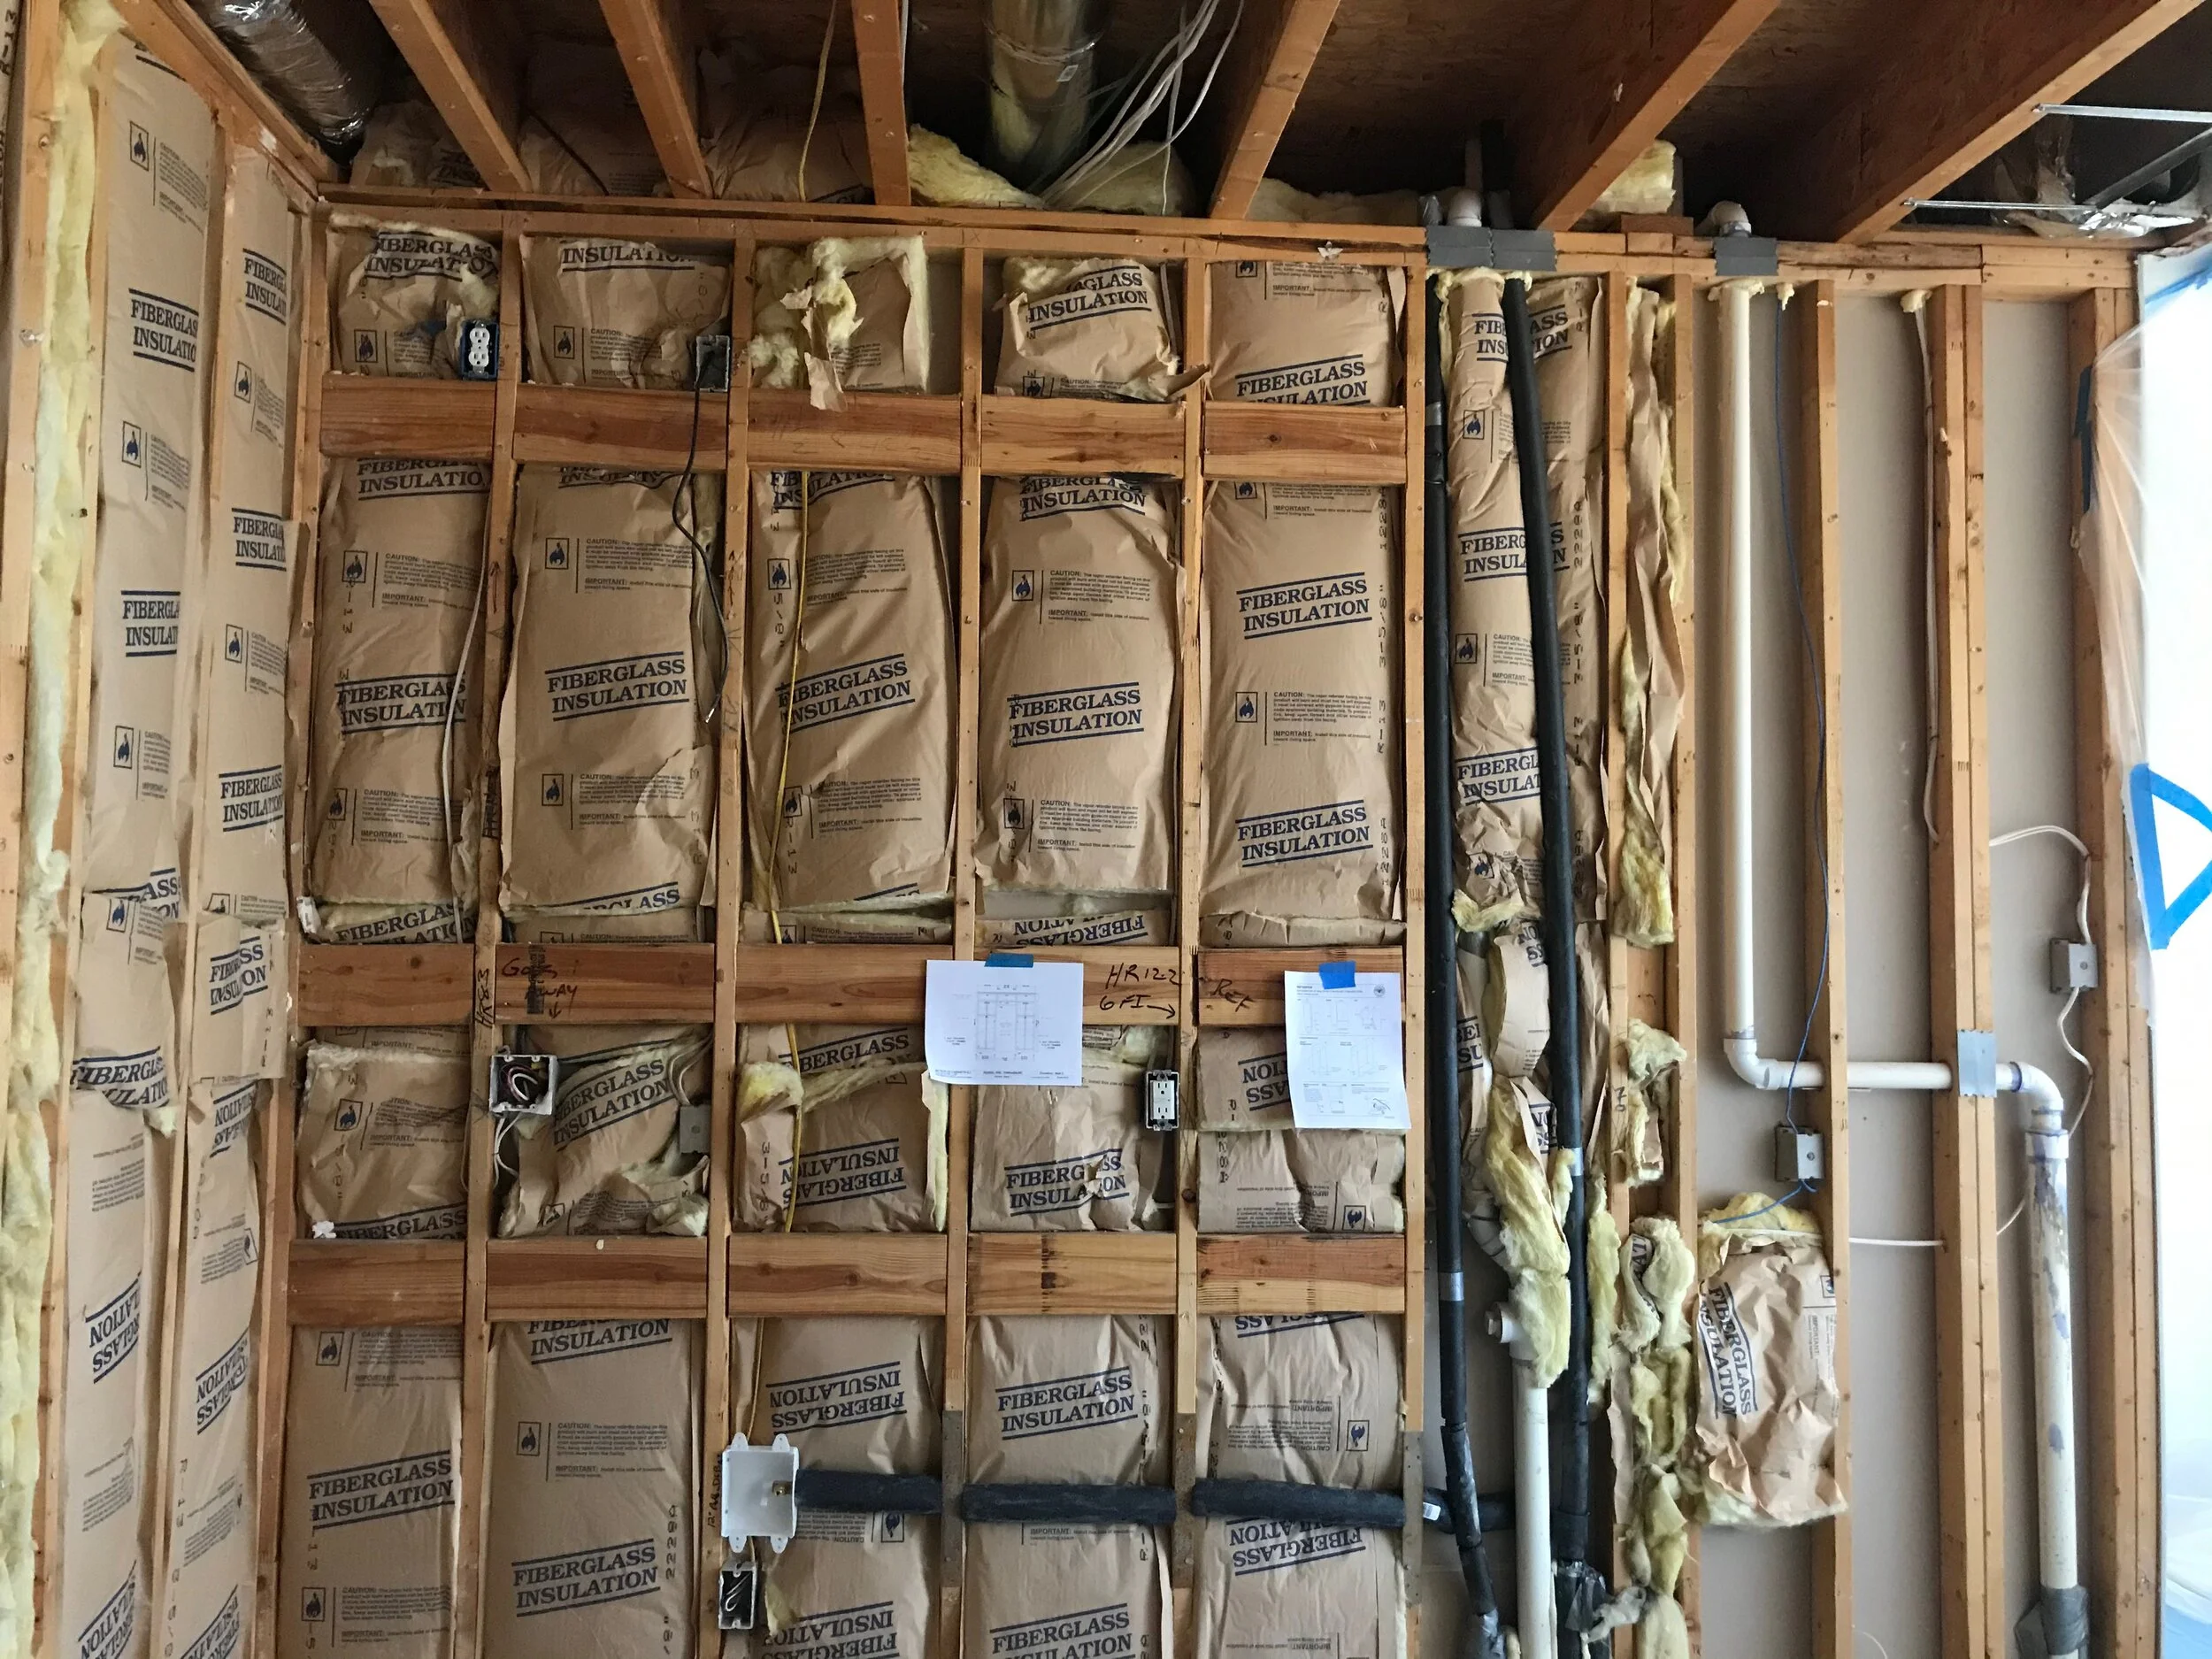
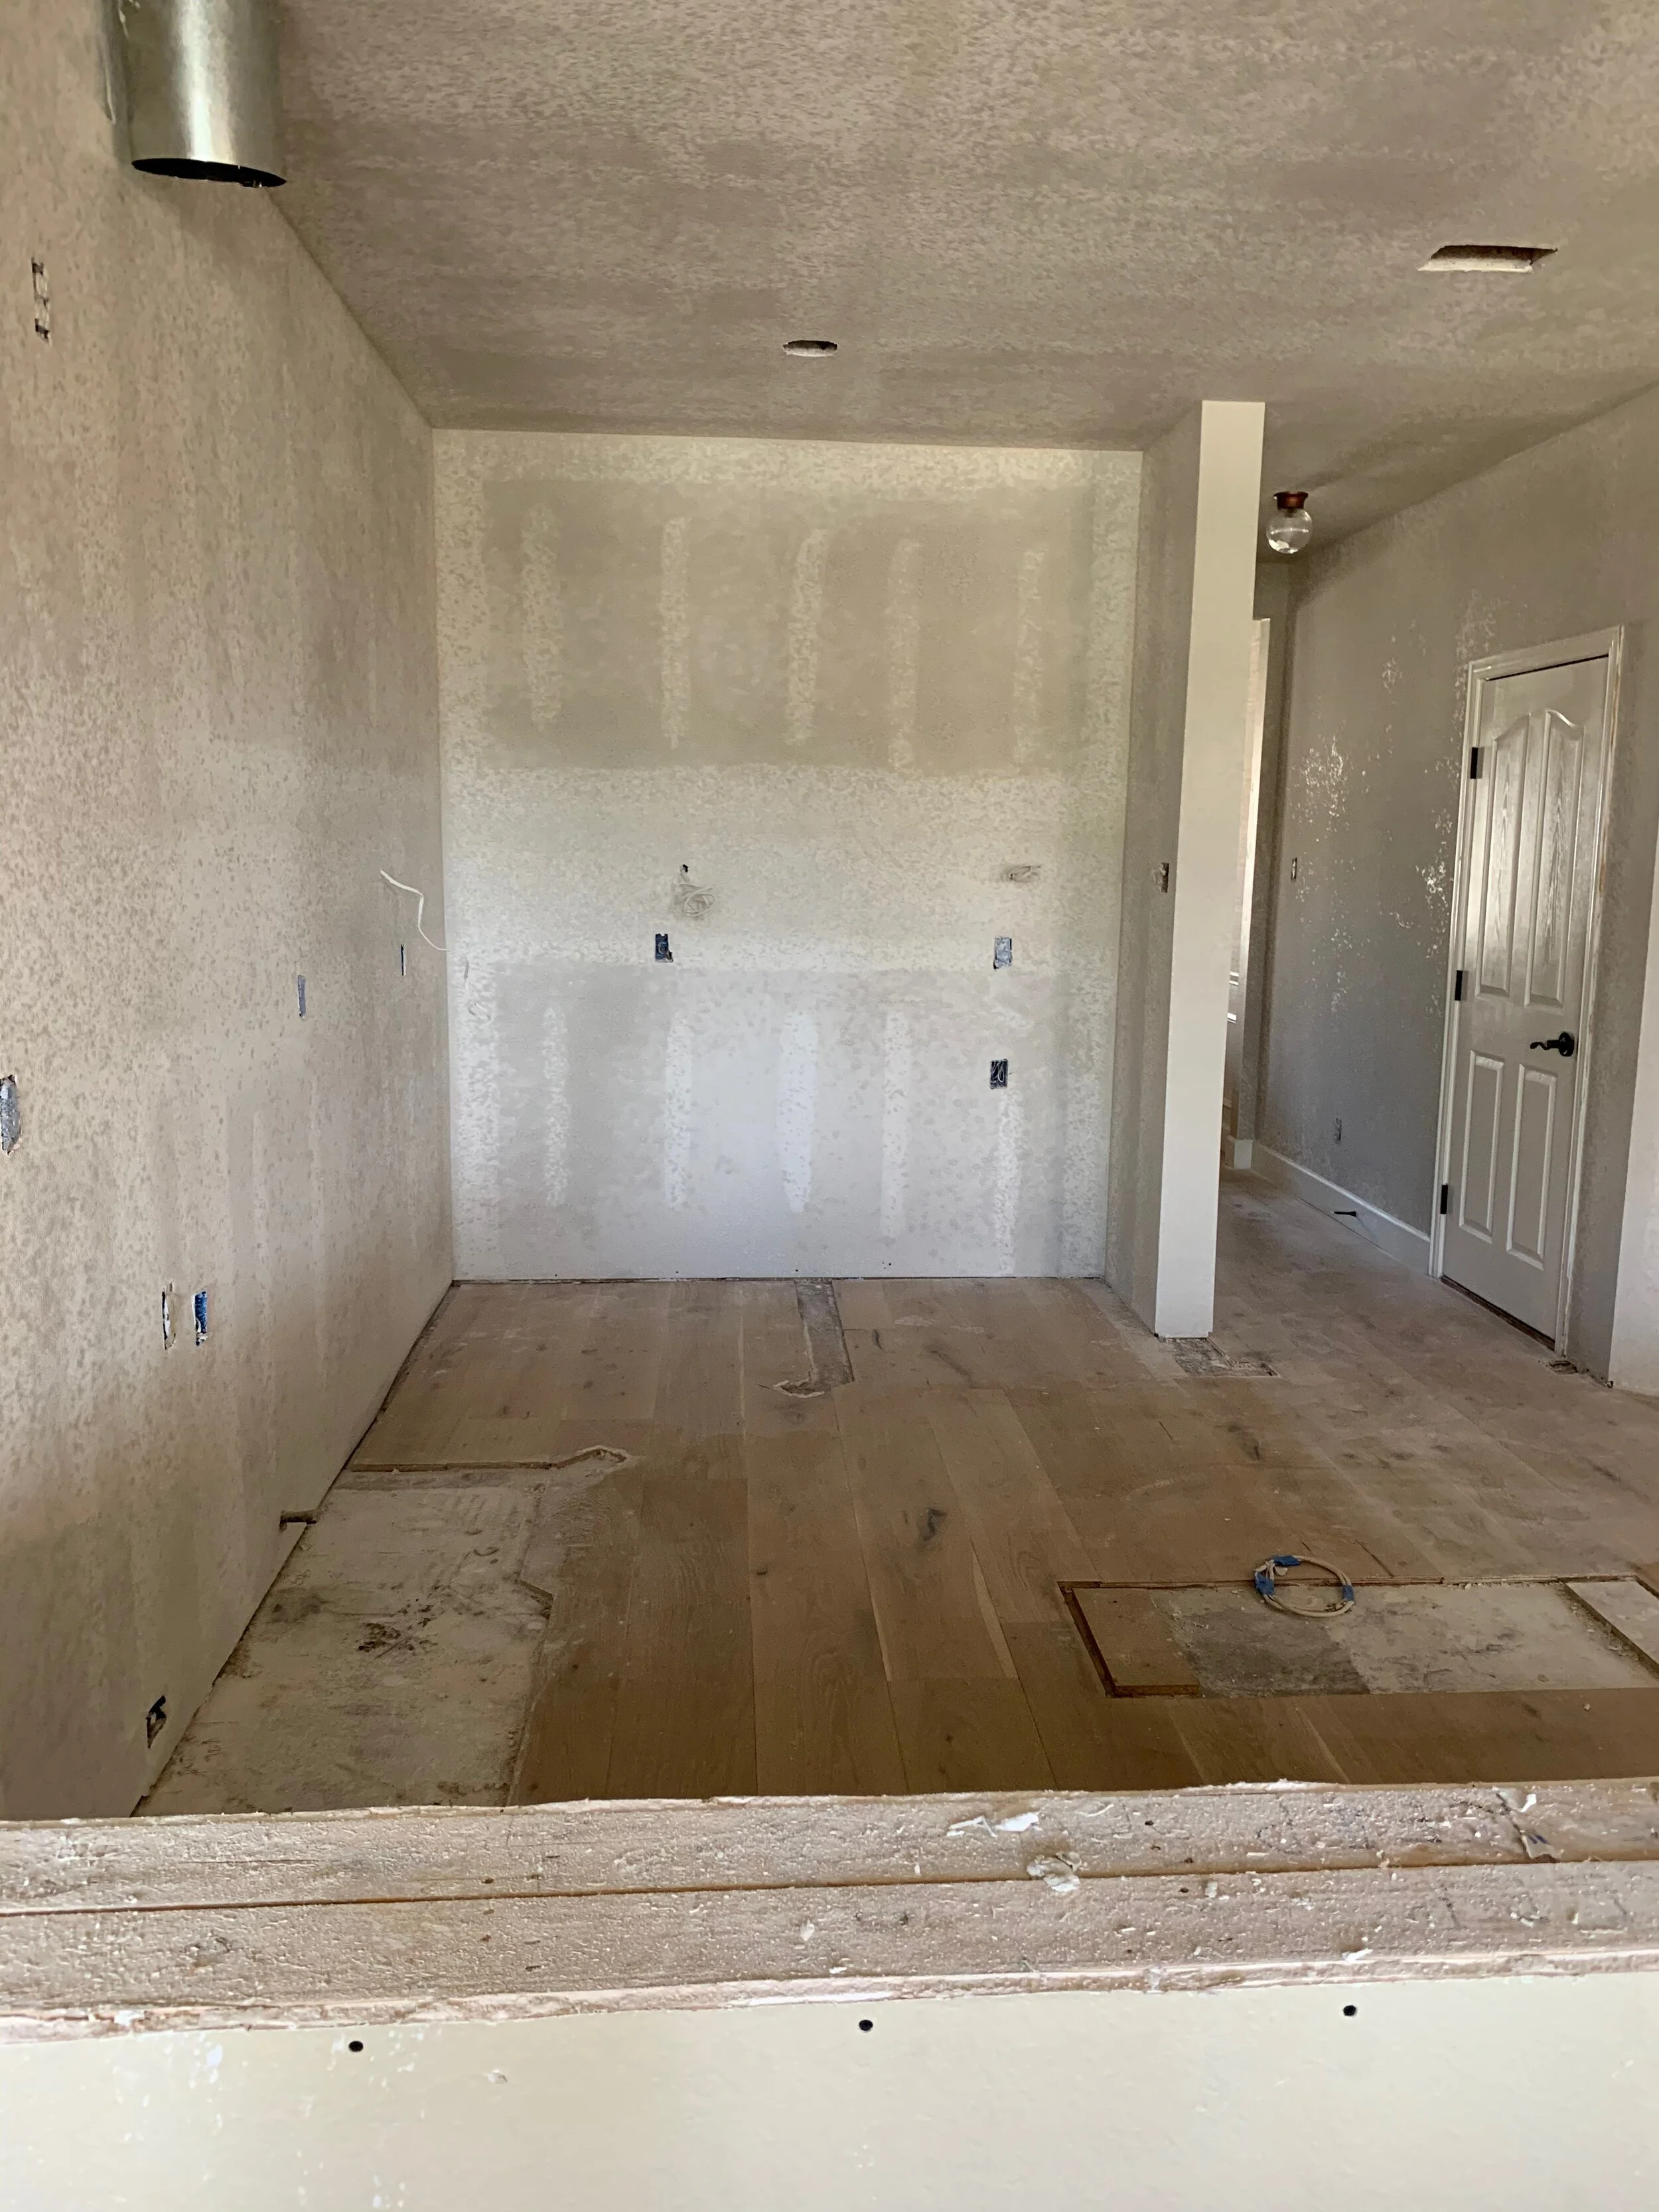
This was the double oven wall, which will now be the refrigerator and pantry wall. Some of the changes we need to make here were;
> Add water line for refrigerator
> Move electrical for refrigerator
> Cap off 210 outlets for double ovens
> Move cable outlet to upper pantry cabinet
Sheet Rock , Tape & Texture
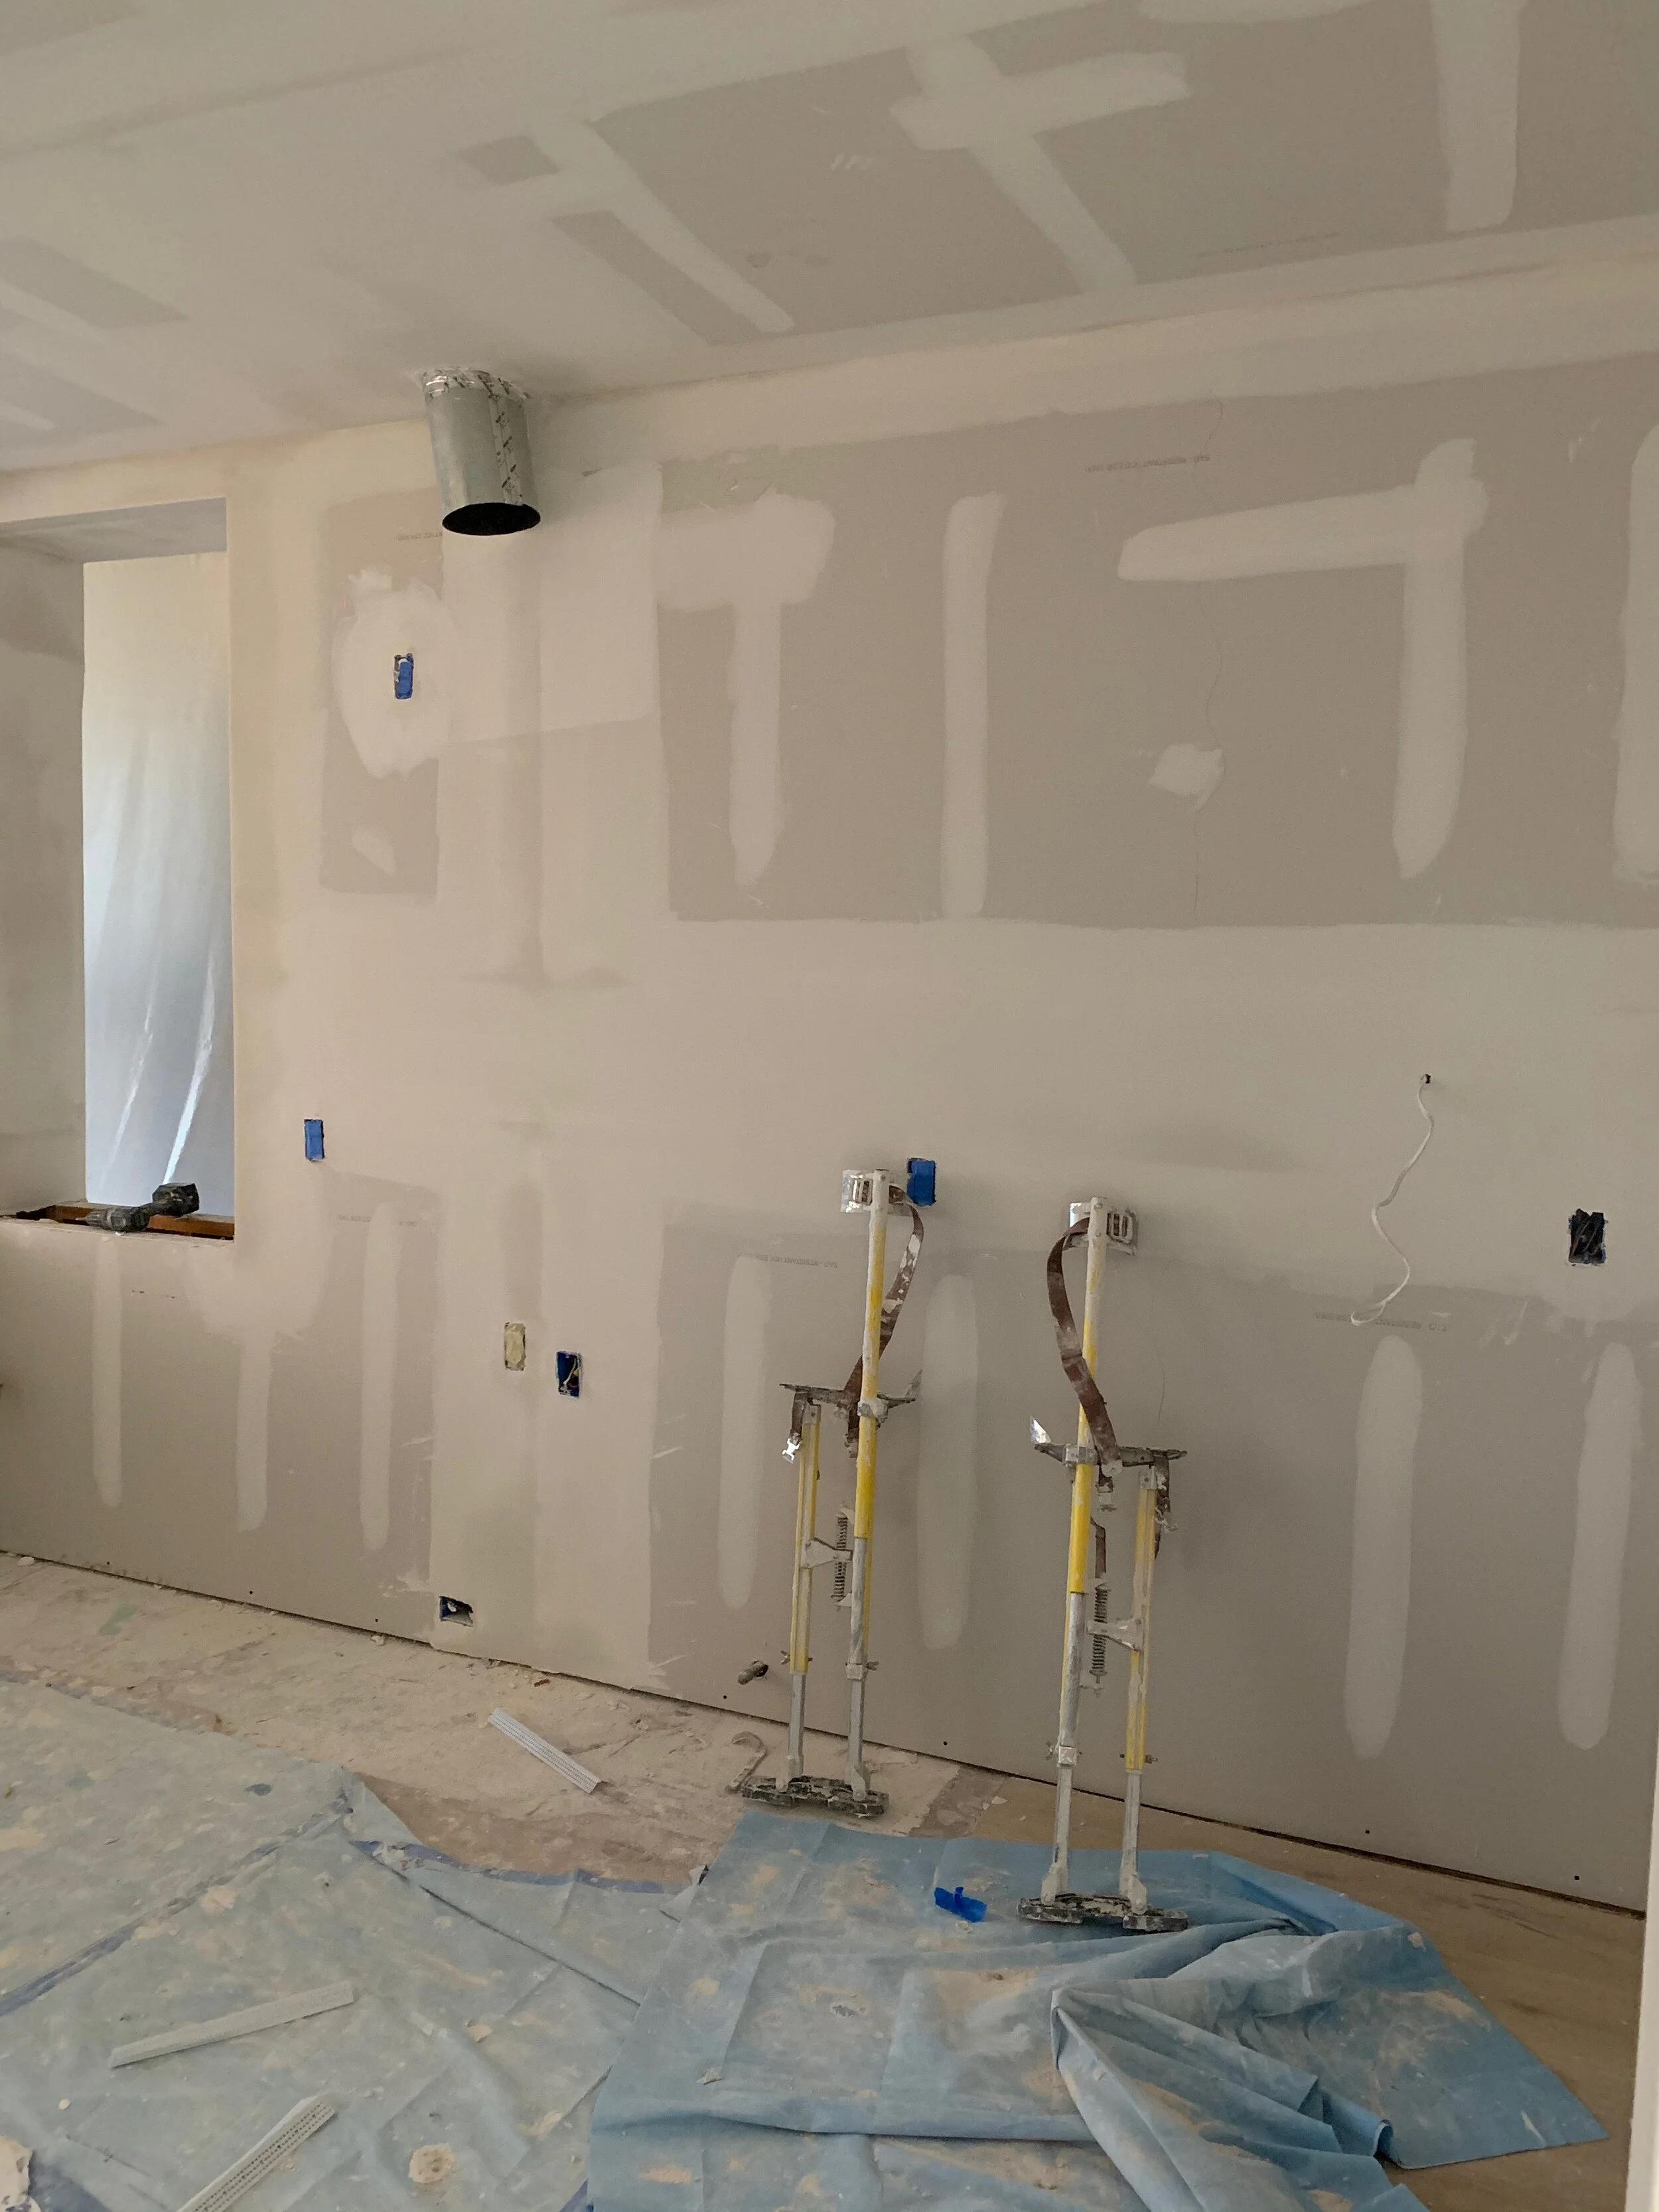

Sheetrock is up, and it’s starting to come together. I’m getting a better sense of how the space will feel, and I like it. The texture is all done, and it will take a couple of days to dry. We hope that the cabinets will be ready to install next week…Yah!!!

Stain & Paint Selections
I have finally decided on the paint scheme; the selections are warm neutrals. The white cabinets will be color-matched to a sample I already had. I was hoping to avoid painting all the trim, but I was having difficulty finding a color combination for the walls mixed with the cabinet color. My existing trim is Dove White, a warm white that reads more on the yellow side, so I have decided to paint all the interior doors and trim Simply White by Benjamin Moore, and the walls will be Classic Gray by Benjamin Moore.
The floors are white oak stained a natural color with warm white undertones. The island will be stained to match the floors, and the vent hood will be custom-designed, which is still in the works. It will be painted Hale Navy by Benjamin Moore, with white oak trim at the bottom.
Next Week
> Floor repair
> Cabinet Install

Don’t forget to check out all the other guest participants of the ORC to see what everyone else is up to! See you next week!


